Toll-Free: 1-866-423-8525 I sales@clienttrackportal.com
Toll-Free: 1-866-423-8525 I sales@clienttrackportal.com
Ability to send secure emails & encrypted files to recipients via Secure File Upload link in your email signature. Follow the instructions below on how to add and use Secure File Upload link.
MS Outlook MS Outlook 365 Gmail/G SuiteStep 1 - Outlook Options
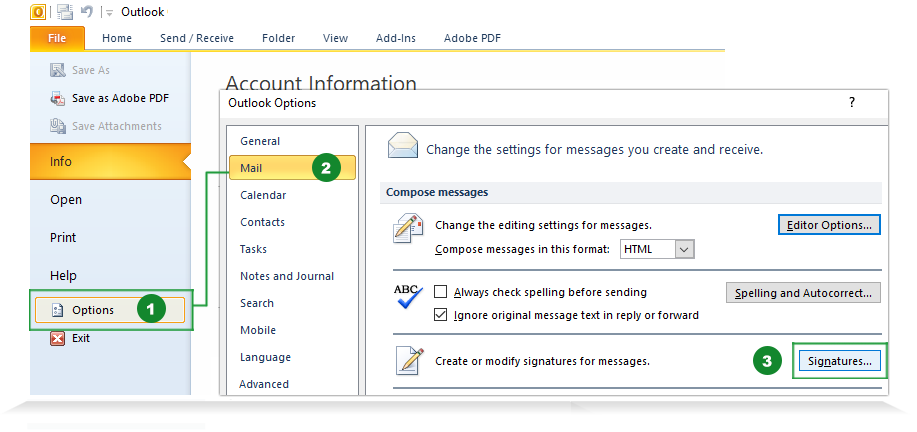
Open up MS Outlook, click on 'File' from main menu and go to 'Options' (1). Select 'Mail' (2) and scroll down until you see Compose Messages section. Click the Signatures (3) button.
Step 2 - Create Email Signature
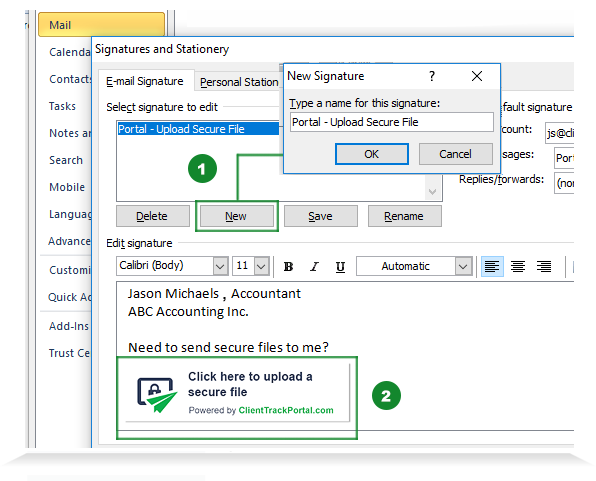
Click 'New' (1) and name your email signature and click Ok. In the edit signature area (white box), add your information and copy and paste your signature link from Step 3.
A small banner image appears as shown in screenshot (2) containing your unique link when clicked on. Click 'Save' to save signature.
Step 1 - Compose Email Message
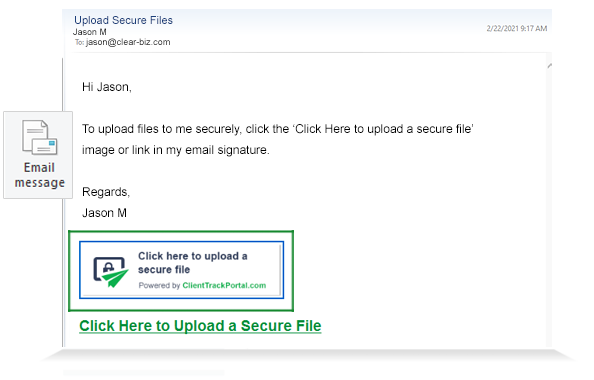
With your updated email signature, click Email Message to create an email for recipient to upload secure files via signature link.
Step 2 - Upload Files Securely
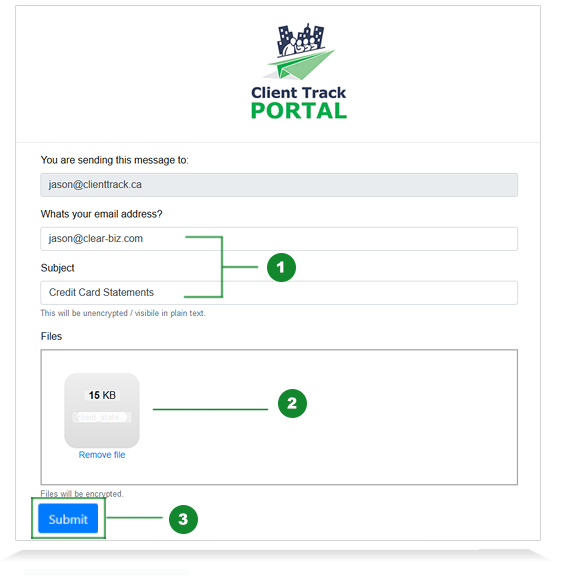
Enter your email, subject title (1) and drag 'n drop your files (2) in white area and click Submit (3). A pop-up will appear asking you to verify your email address with a code.
The process is easy, quick, secure - all uploaded files will be encrypted.
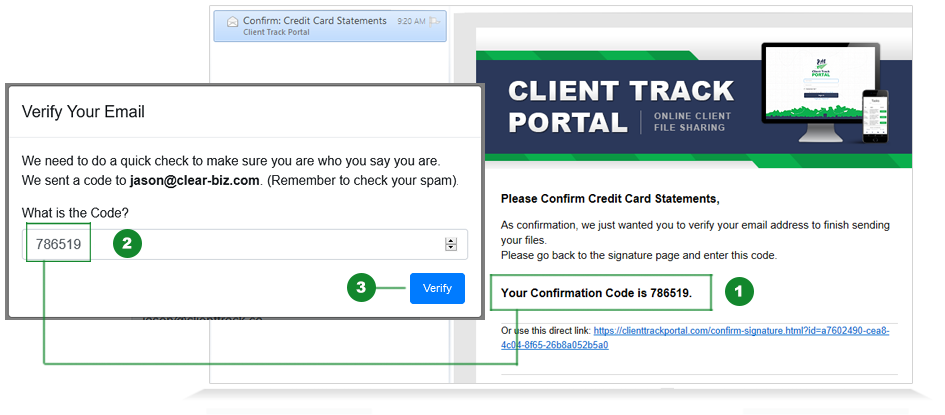
Step 3 - Verify Your Email with Code
You'll receive an email including your 6-digit confirmation code to verify your email address (1). Enter your confirmation code in the 'Verify Your Email' window (2) and click Verify (3). A message will appear confirming email and files have been sent successfully to recipient.
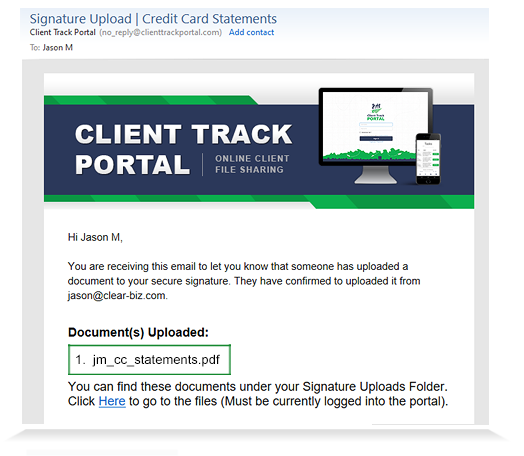
Step 4 - Email Notification
The recipient receives an email notification that the sender has uploaded their files to you in the Signature Uploads folder which can be accessible by going to the Virtual Filing Cabinet.
Uploaded files automatically appear in the Virtual Filing Cabinet.
Step 5 - Log into Portal Account
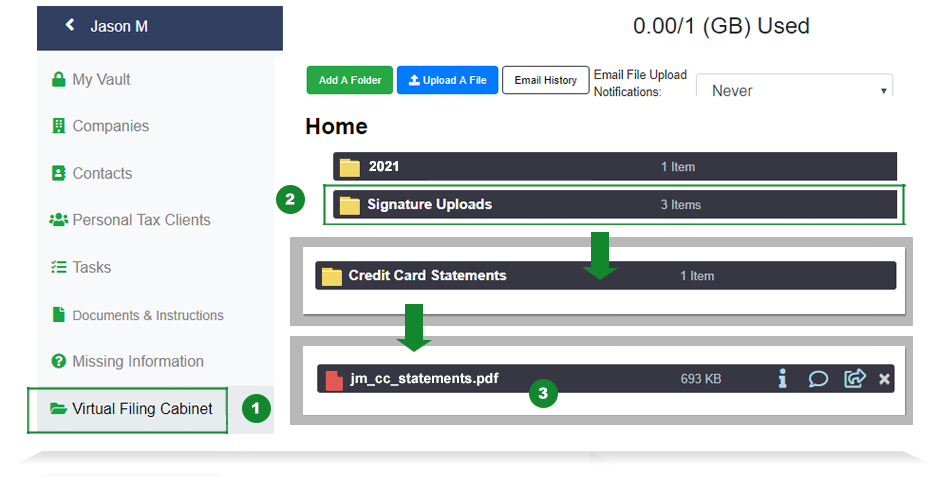
Portal LoginStep 6 - Virtual Filing Cabinet
In Client Track Portal, click Virtual Filing Cabinet' (1) from left sidebar and then click Signature Uploads' folder (2). Open the sender's folder to locate the uploaded files ready for download.
You can view details, add comments, download and securely send files to third parties that are not using Client Track Portal.
1-866-423-8525
................................................................